Best Recipes for Meal Prep
Tired of meal prep that gets soggy by day three? These are the best meal prep recipes that hold up, reheat well, and make your week easier.
See All Meal Prep Recipe Categories HERE
Newest Meal Prep Ideas
You can find my newest, or most recently updated, meal prep recipes here.
- 15 Easy Mediterranean Diet Meal Prep Recipes
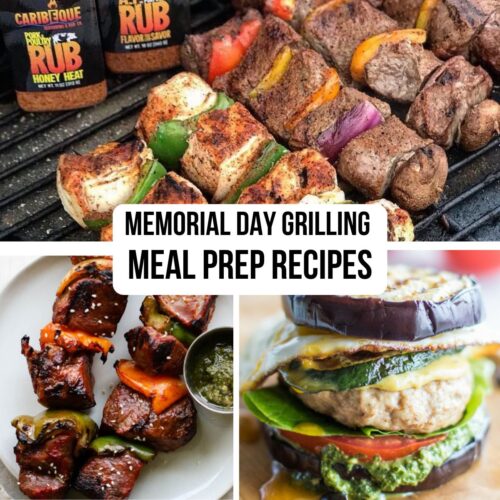
- Memorial Day Grilling Recipes For Easy Summer Meal Prep

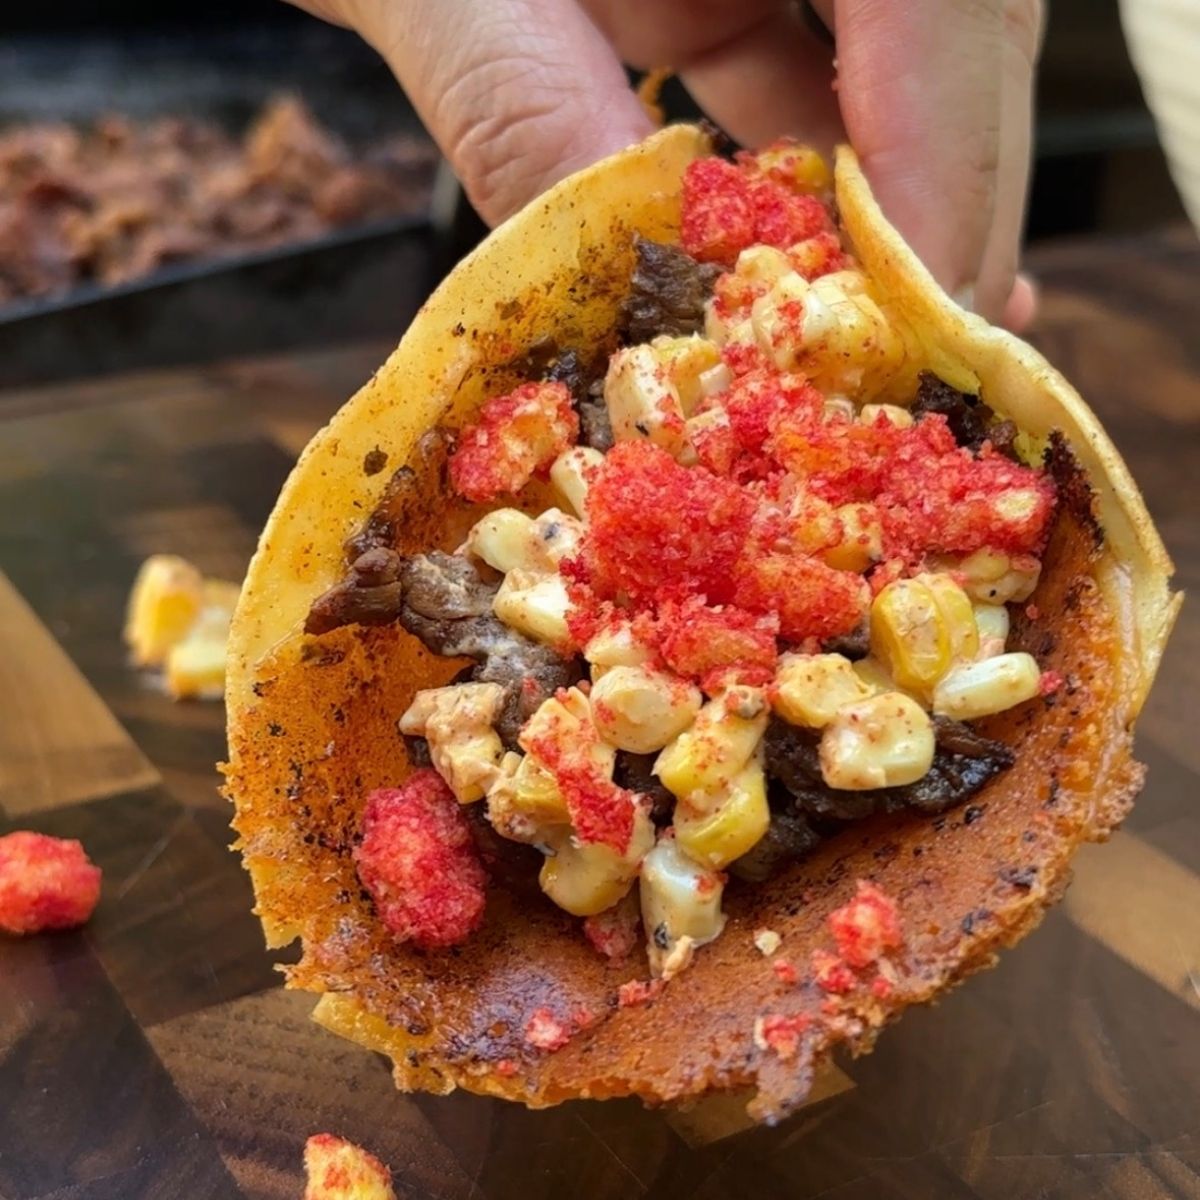
- Grilled Corn Elotes Steak Tacos (with Flamin Hot Cheetos)
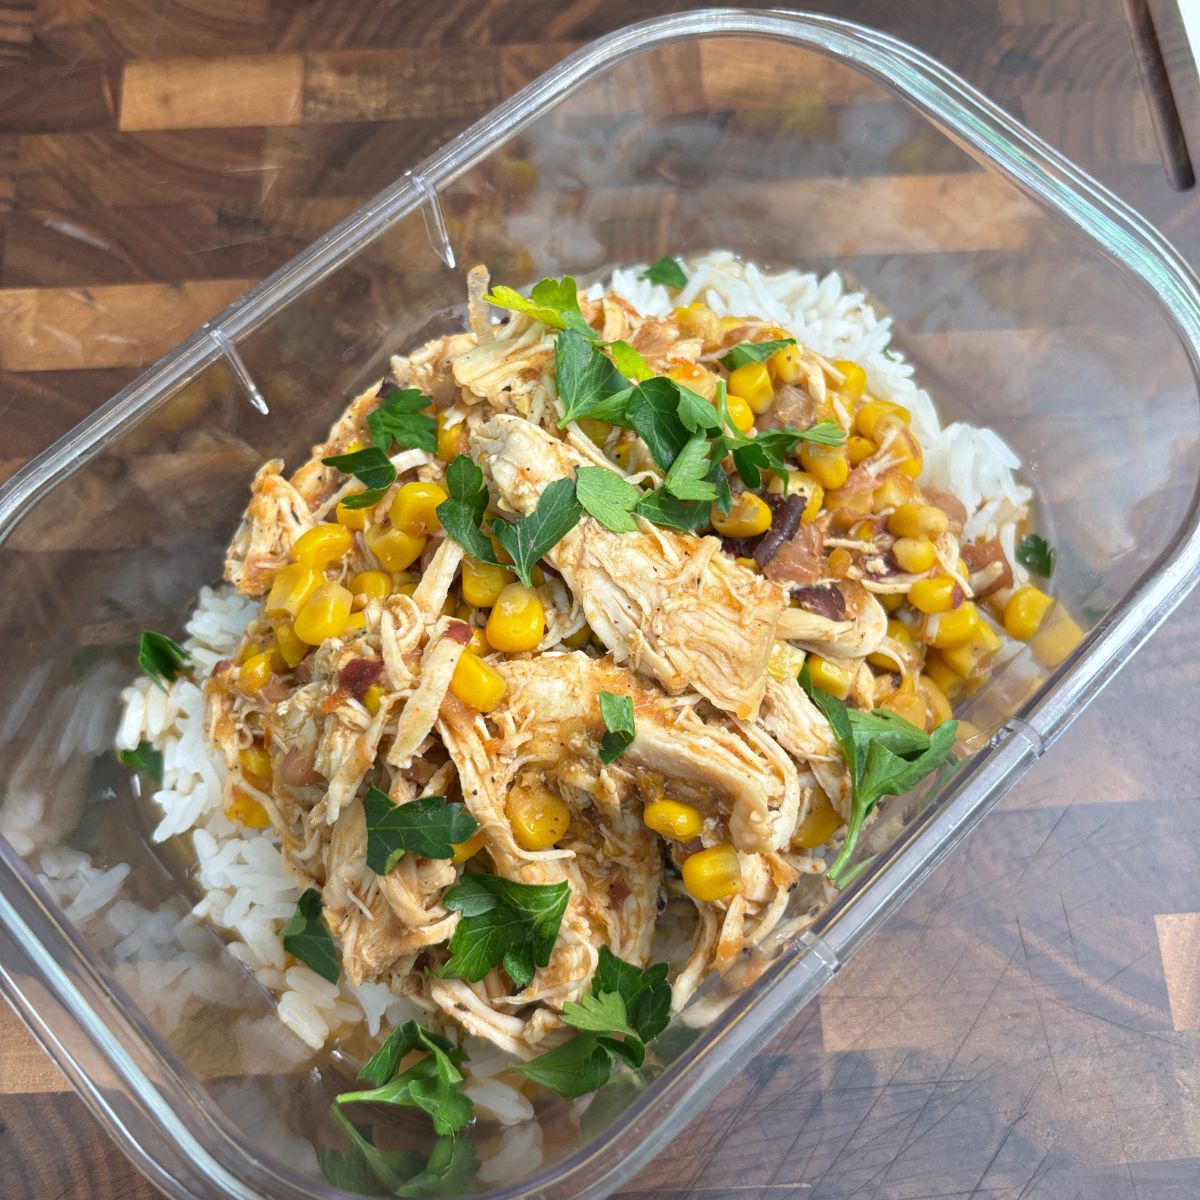
- Instant Pot Salsa Chicken Rice Bowl
- Our 12 Best Mexican Recipes for Cinco de Mayo
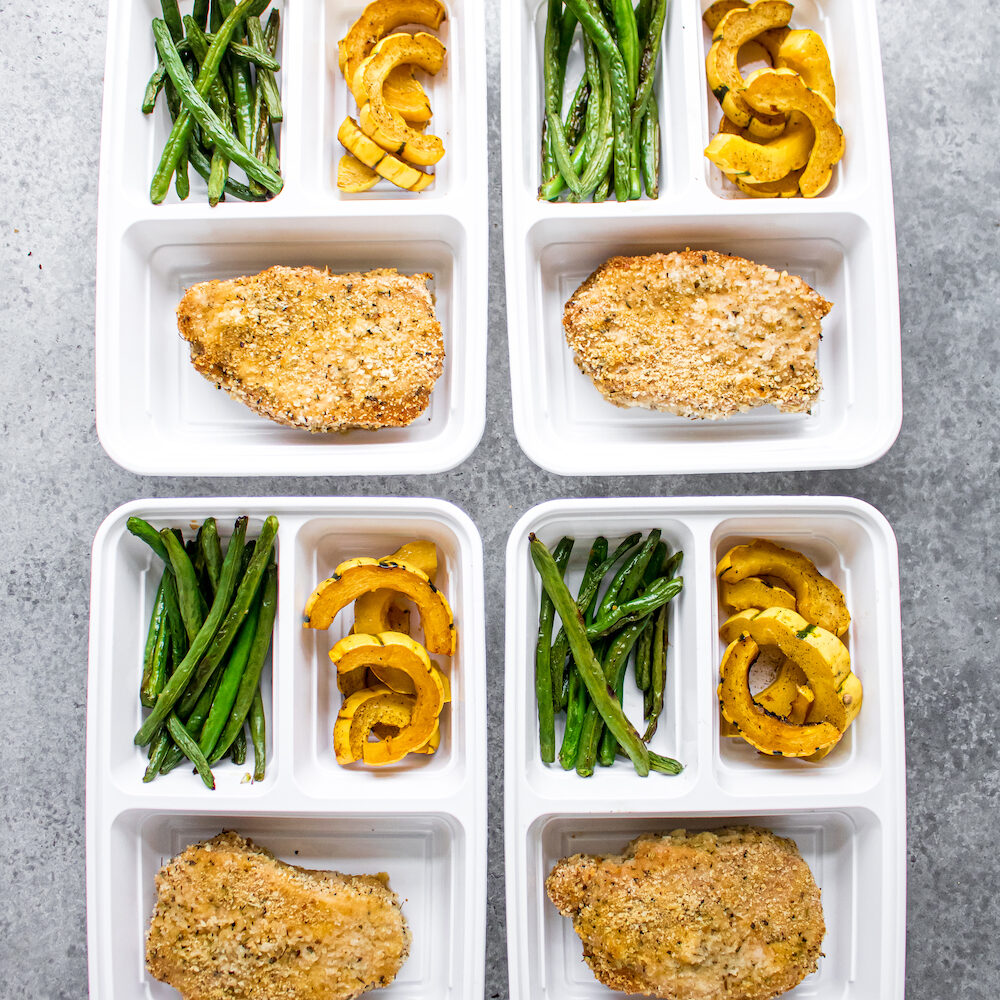
- How to Make Extra Crispy Pork Chops and Roasted Vegetables

Hey, I'm Nick
I'm glad you're here. I started meal prepping almost a decade ago, when I was on a weight loss journey. After three months of meal prepping, I lost almost 13% body fat and started sharing my recipes and meal prep combos.
Check out the meal prep recipes below or feel free to reach out with any questions.
High-Protein Recipes
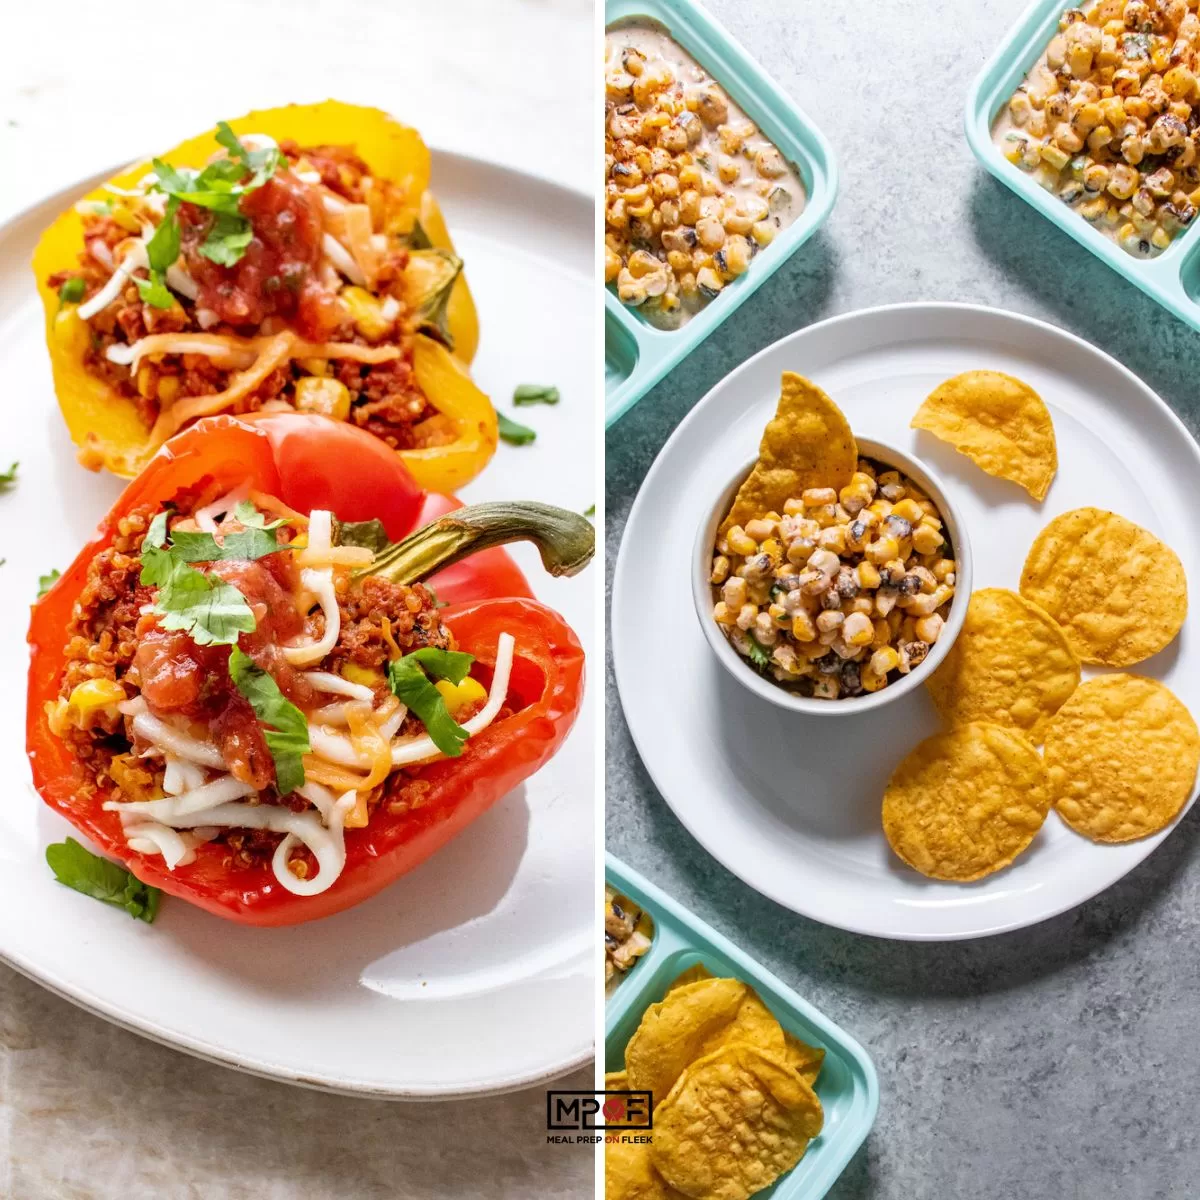
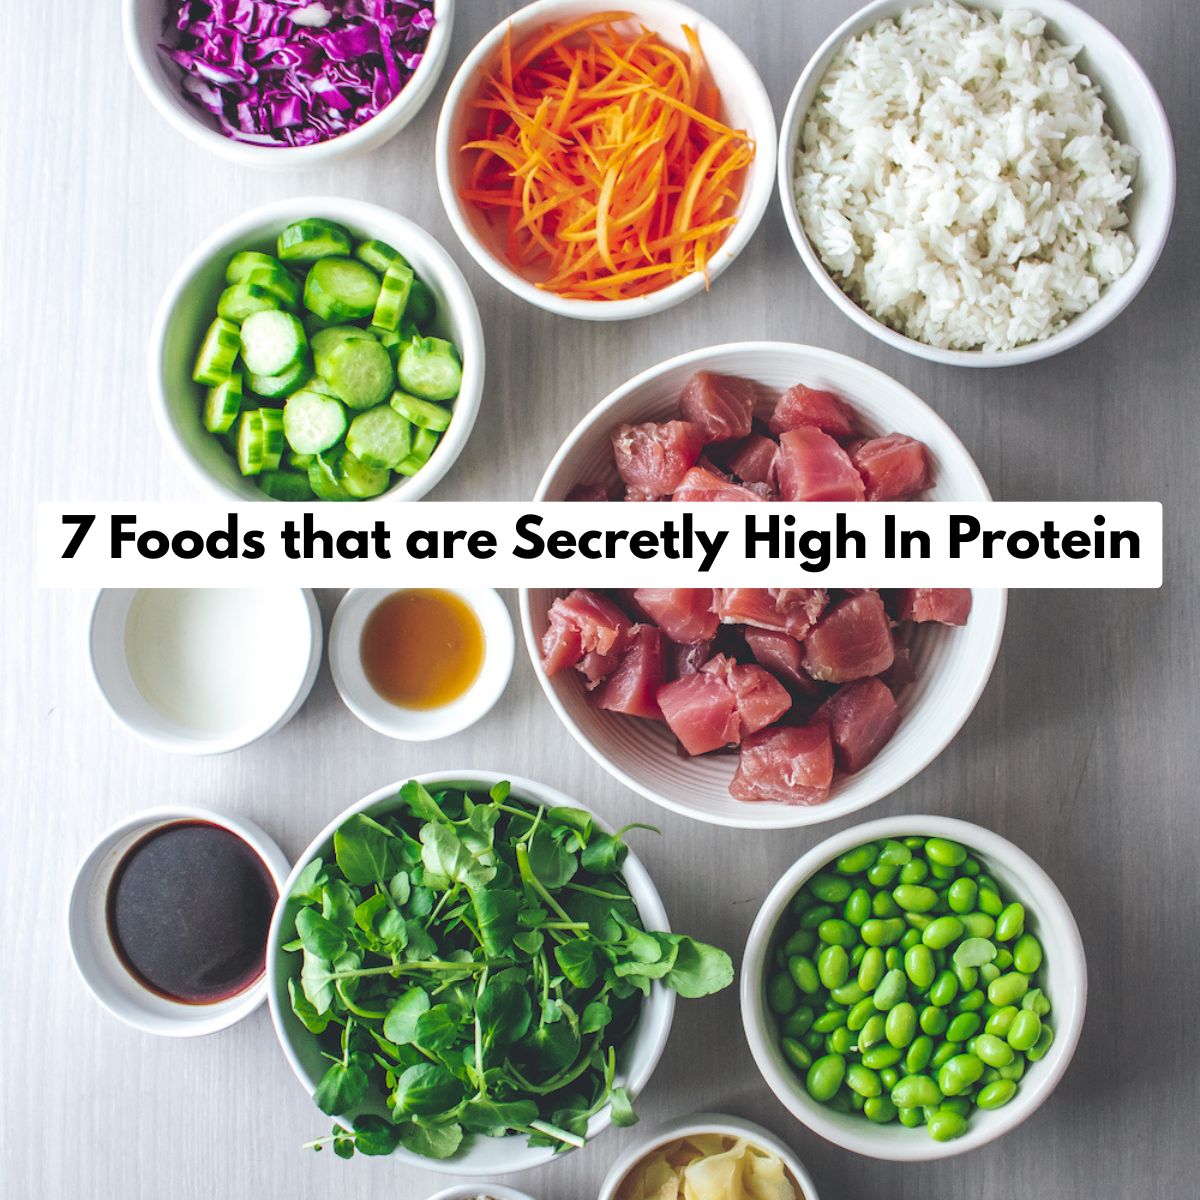
- 7 Surprising Foods With Protein + 3 Easy Protein Smoothies
- High-Protein Gluten-Free Cottage Cheese Pancakes

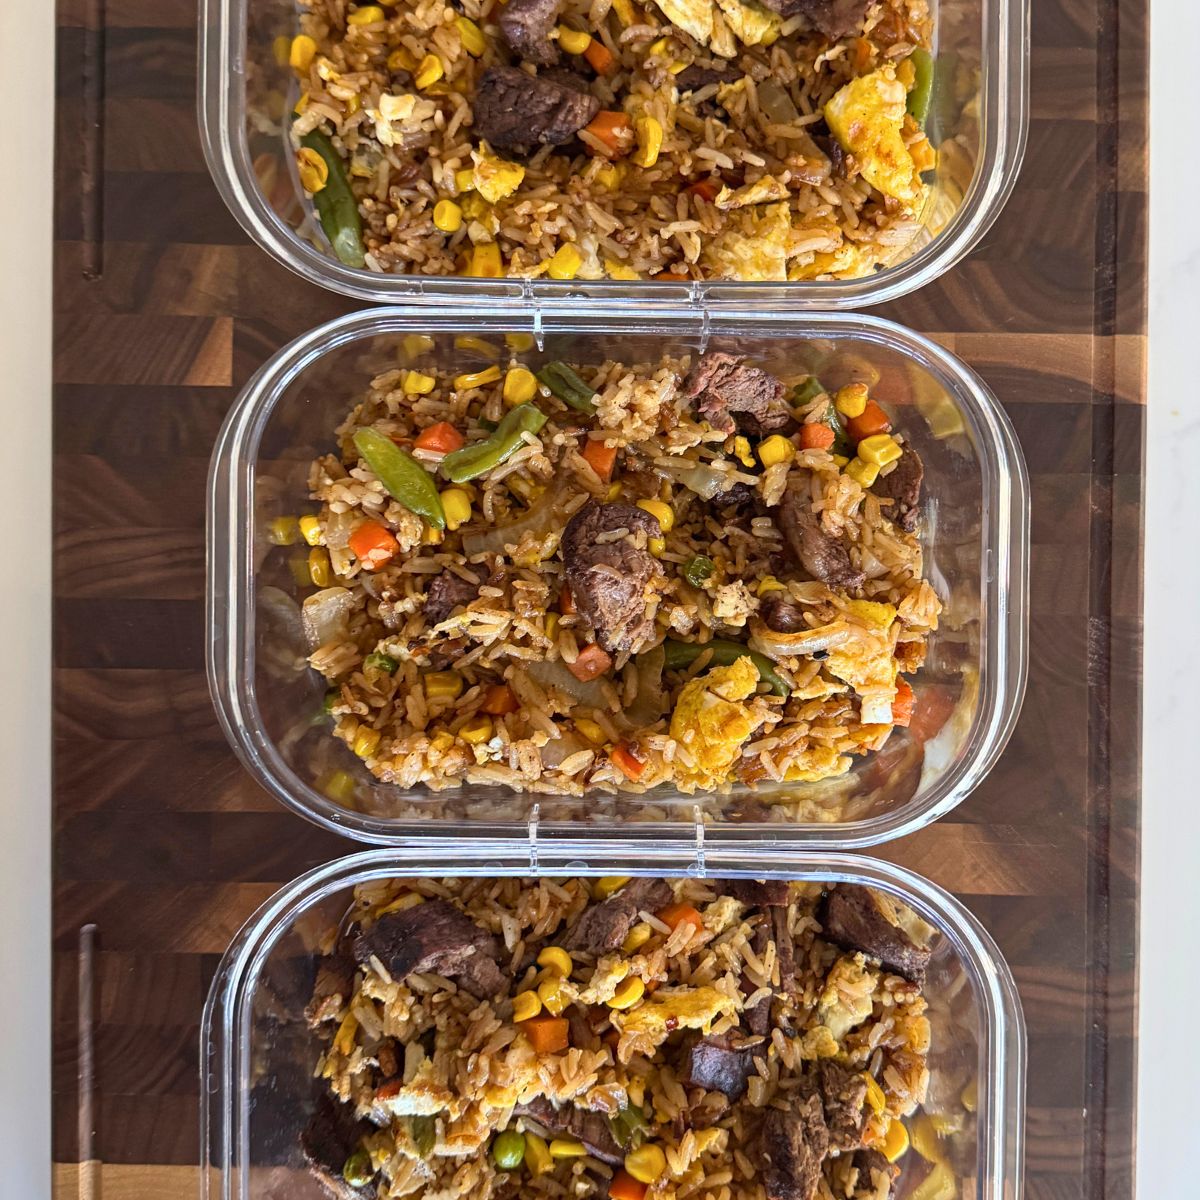
- High Protein Griddle Steak Fried Rice Meal Prep
- High-Protein Ground Chicken & Egg White Quesadillas (Meal Prep Friendly)

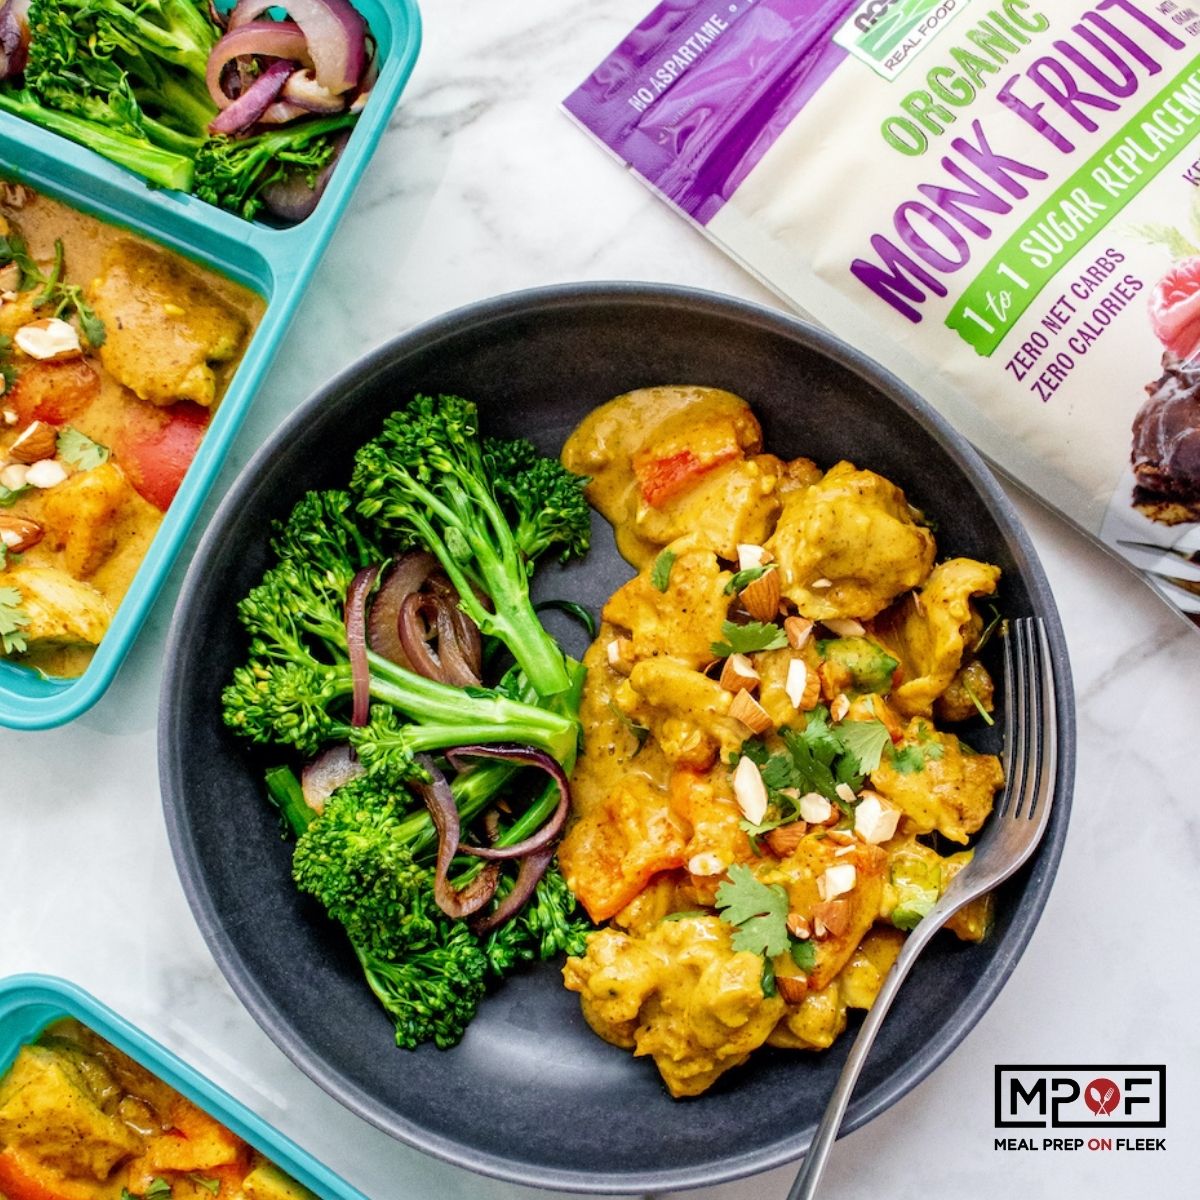
- Savory Almond Butter Chicken Thigh Skillet
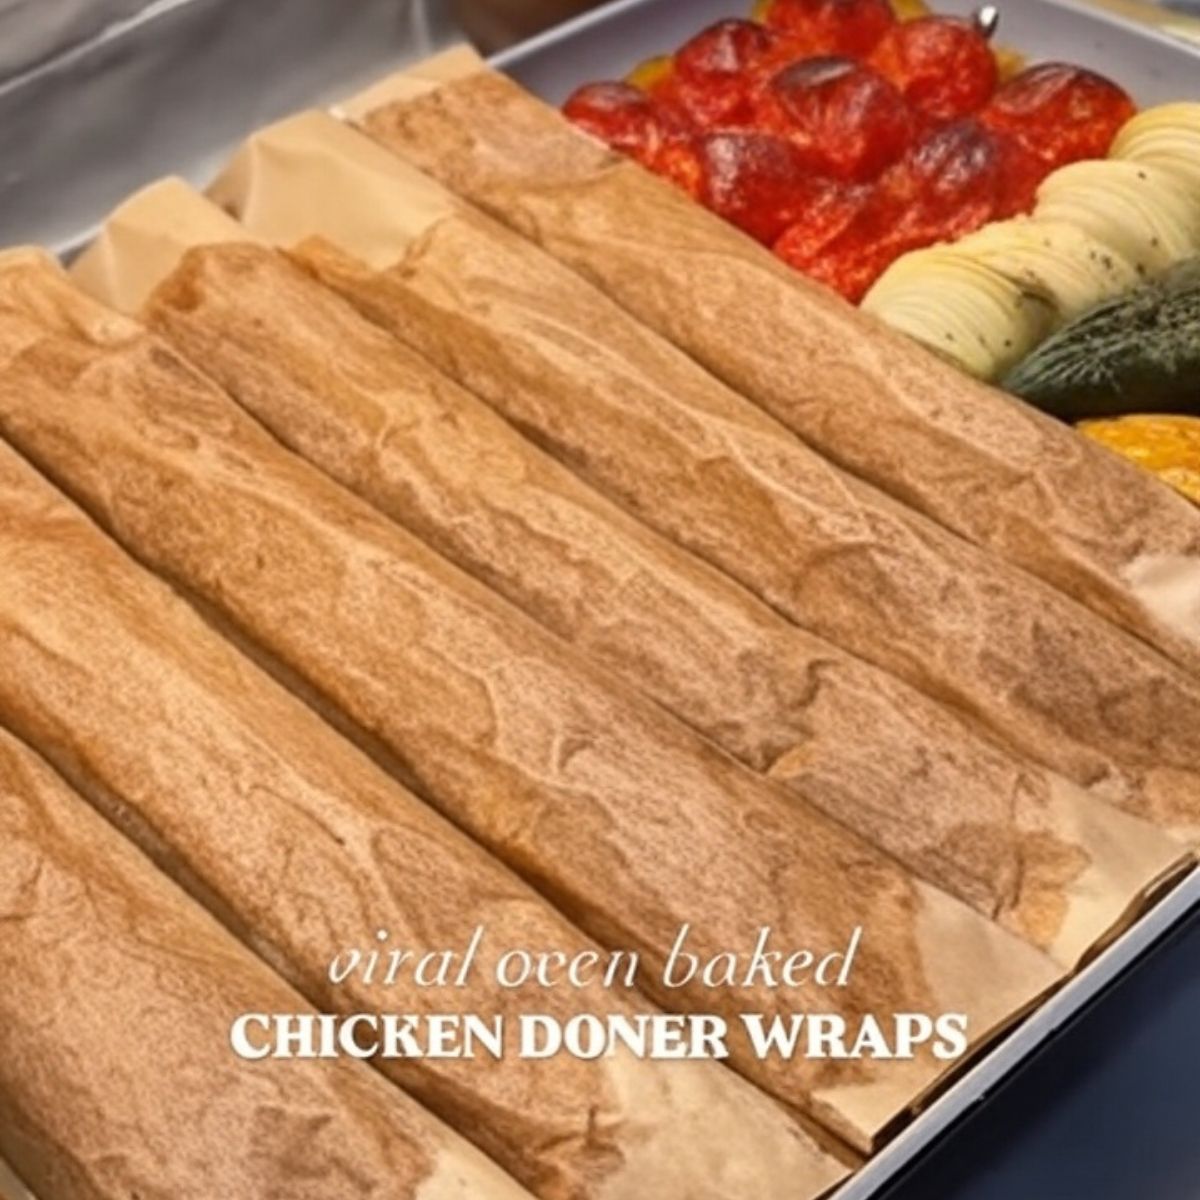
- Homemade Chicken Doner Wraps
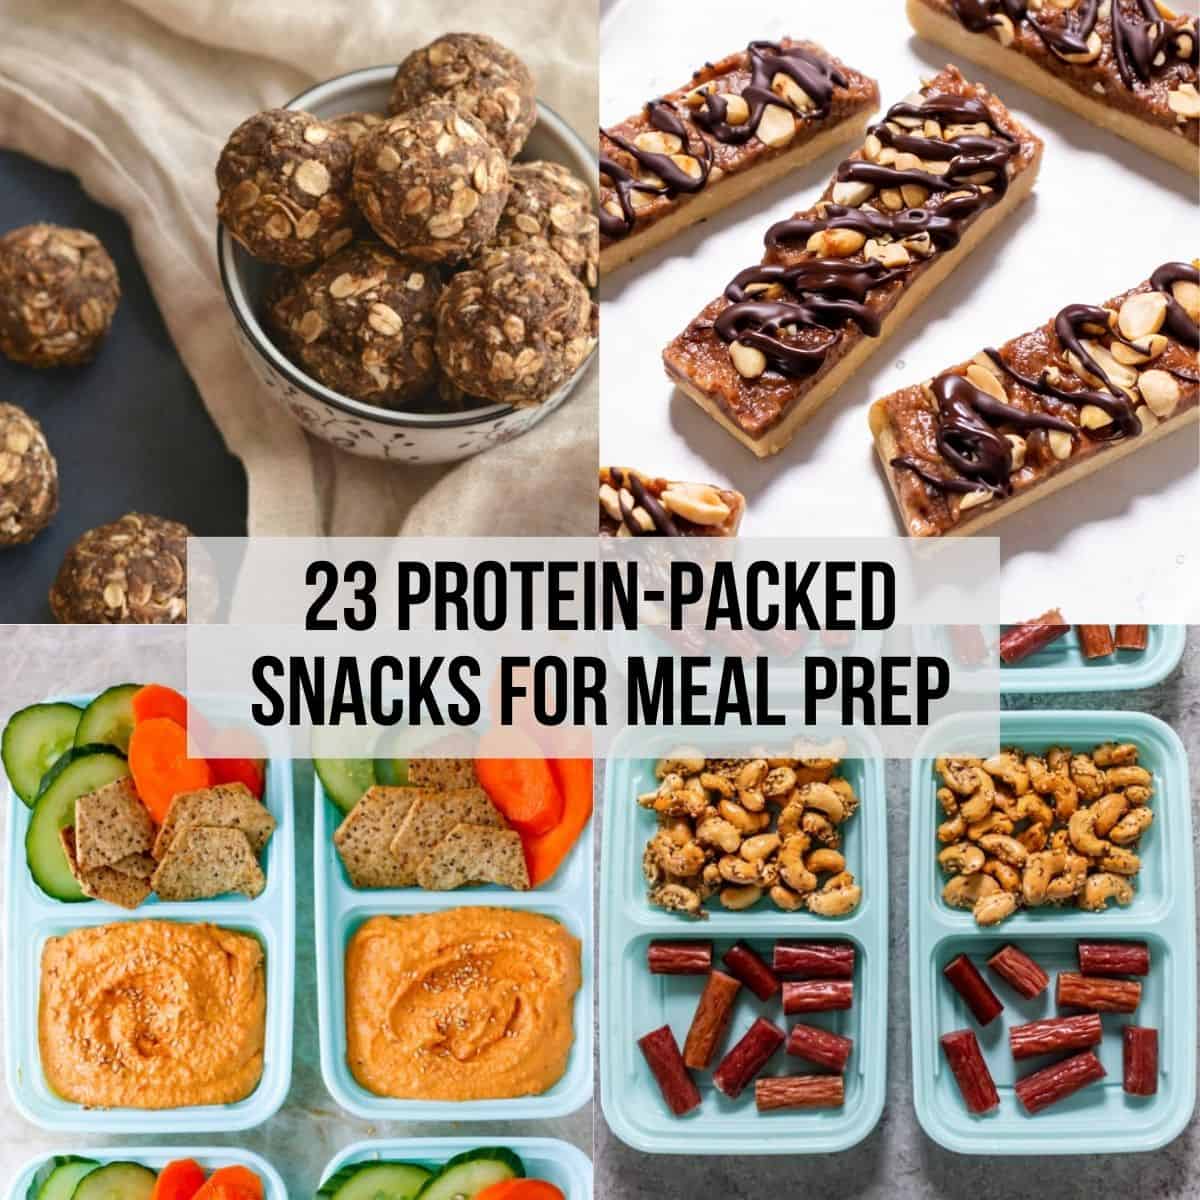
- 23 Protein-Packed Snacks for Meal Prep (That Actually Keep You Full)
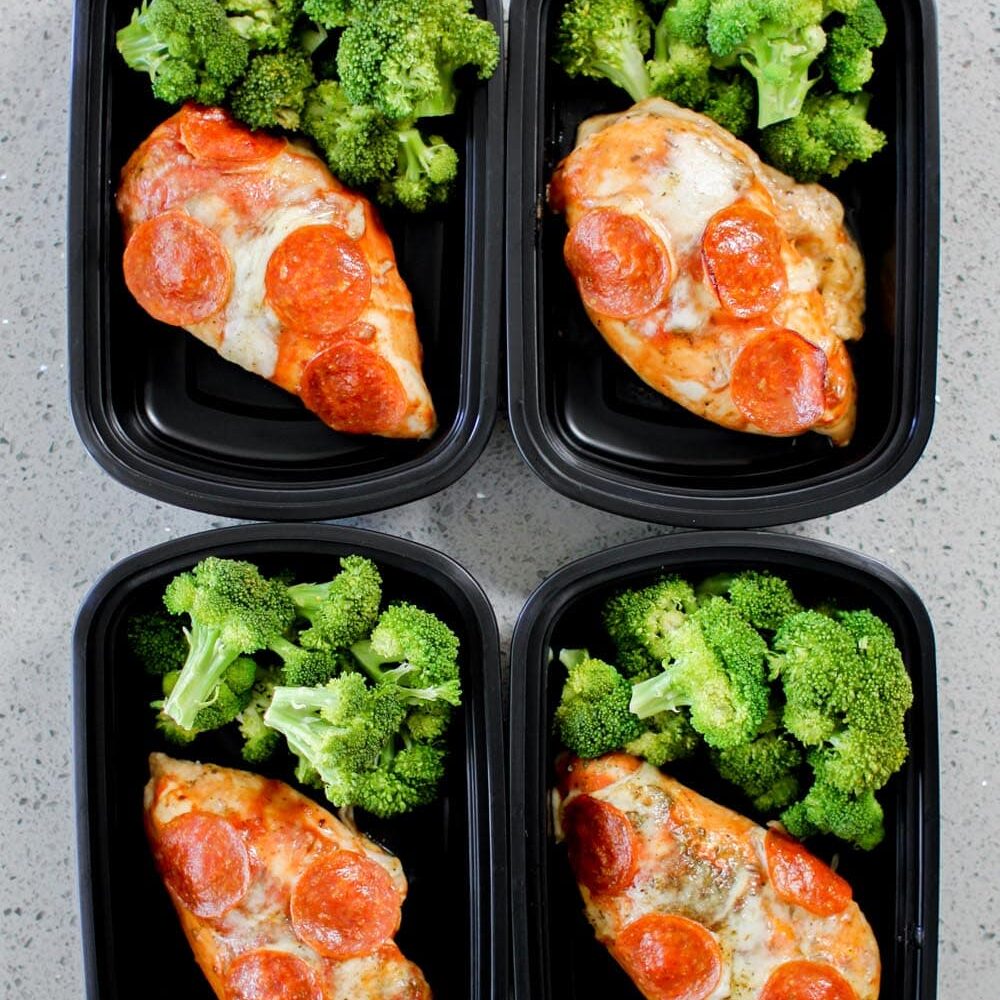
- Pizza Chicken Meal Prep Recipe (Low Carb, High Flavor)
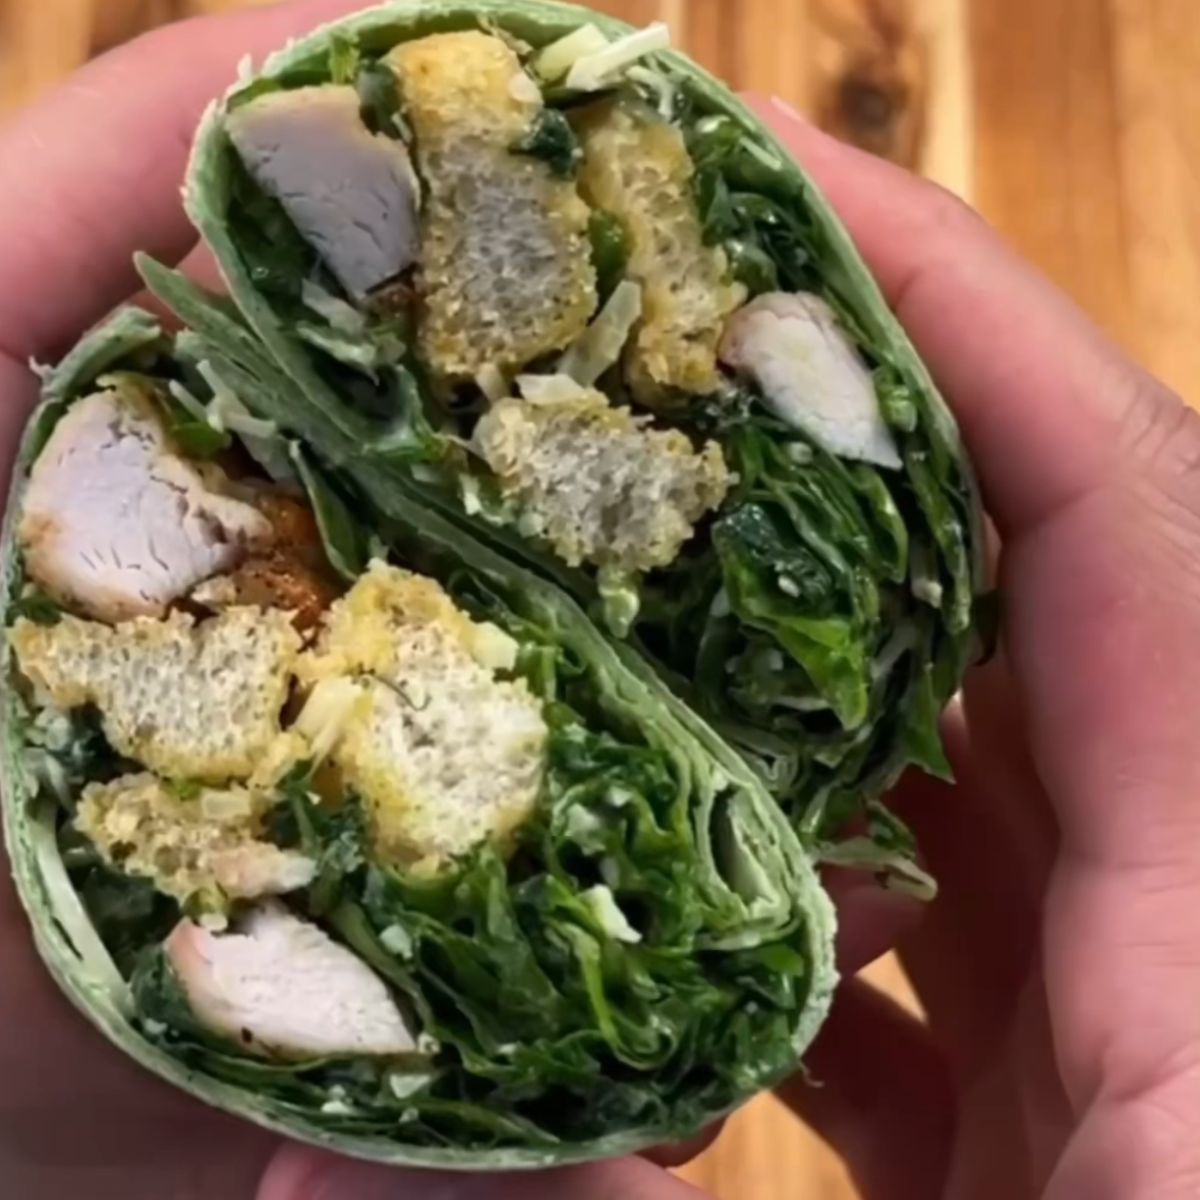
- High Protein Chicken Caesar Salad Wrap (with a Healthy Swap)
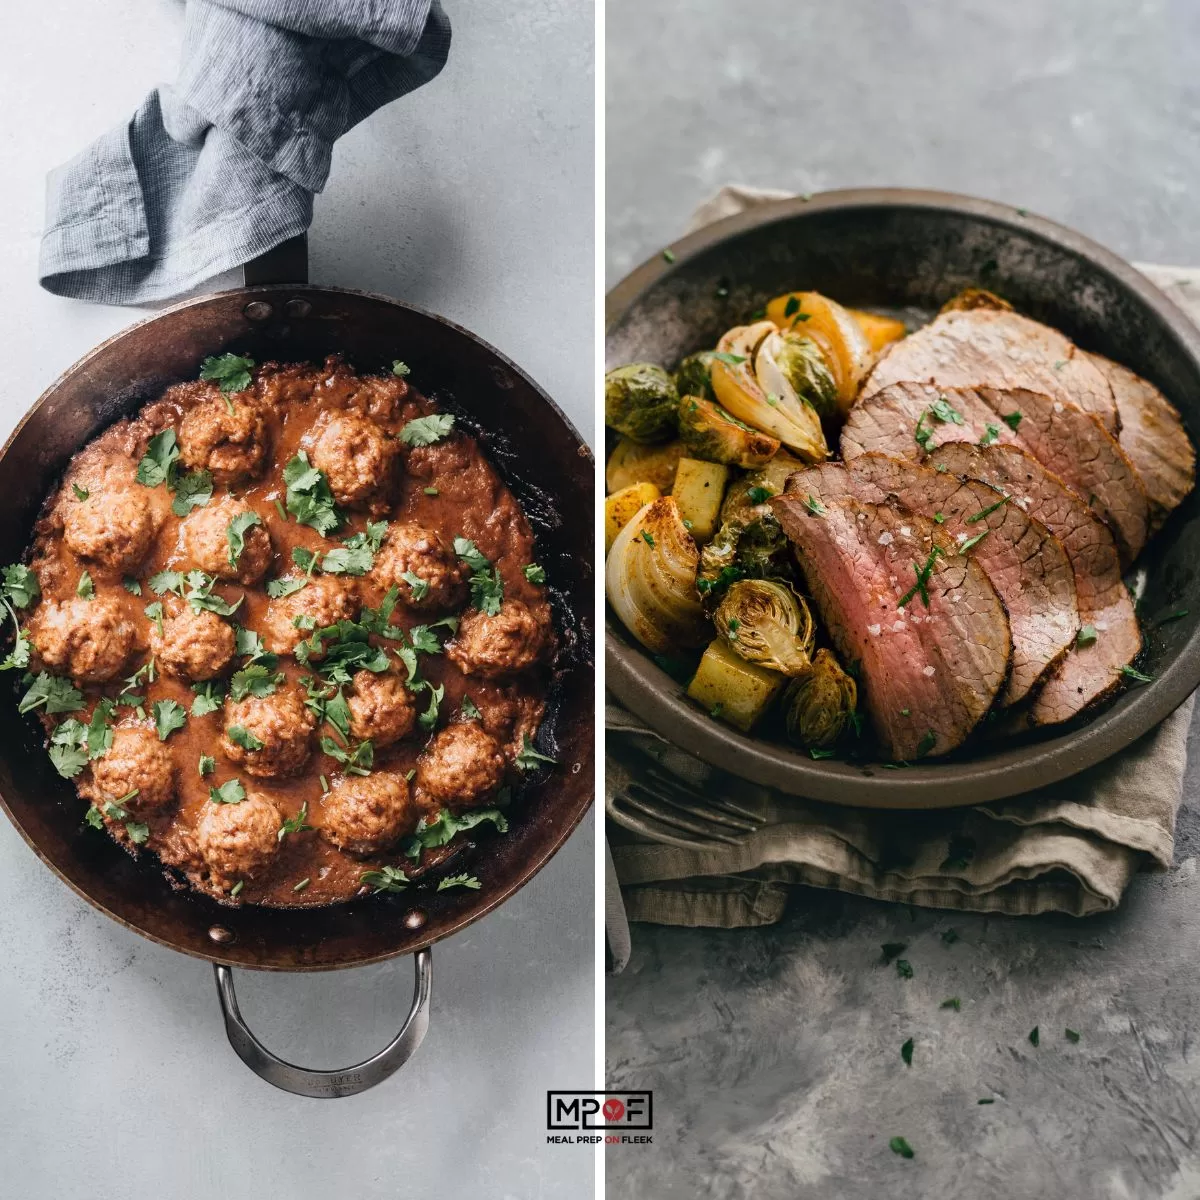
- Best High Protein Dinner Meal Prep Recipes for 2026
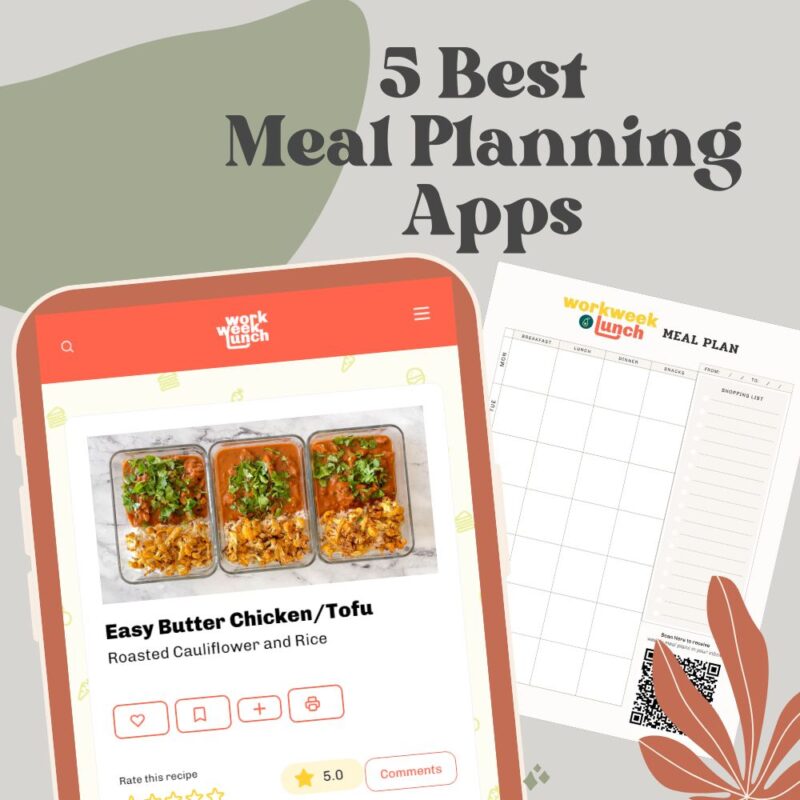
5 Best Meal Planning Apps of 2026
Whether you're trying to plan meals for your family or stick to your health goals, these meal planning apps take a ton of work off your plate.
Search Recipes by Cooking Method
Save Time. Money. And Reduce Your Stress
(With Recipes That Actually Taste Good!)
Try Workweek Lunch
A Meal Planning Resource
Workweek Lunch is a subscription service that gives you access to hundreds of recipes including meal prep, freezer-friendly snacks, and dessert recipes. Members receive access to all current and future recipes in the recipe index for Less than $10/month.

What You Get:
MEAL PREP RECIPES
A wide variety of recipes specifically designed for meal prepping with weight gain and weight loss friendly versions included.
DESSERT & SNACK RECIPES
A large collection of macro friendly dessert and freezer friendly snacks to help you stick to your nutritional goals.
WEEKLY MEAL PLANS
So you don't have to worry about how much time it takes to plan meals.
Meal Prep Recipe of the Week
Meal Prep Tips and Resources
- Memorial Day Grilling Recipes For Easy Summer Meal Prep
 TL;DR: These Memorial Day grilling recipes are easy to prep ahead, packed with summer flavor,… Read more: Memorial Day Grilling Recipes For Easy Summer Meal Prep
 - The Top 20 Chicken Meal Prep Recipes for 2026
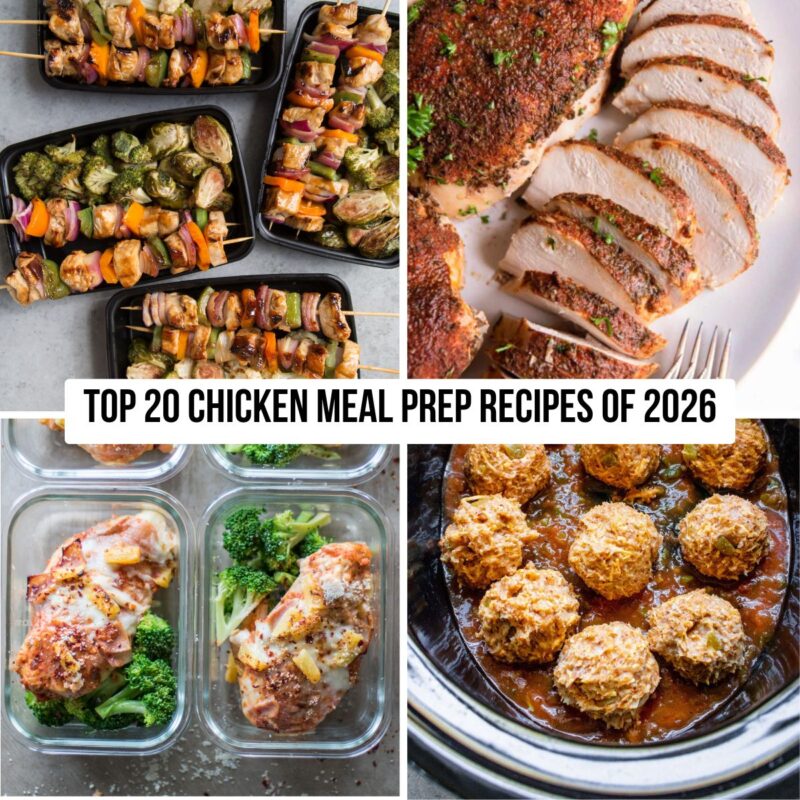 TL;DR: When I need easy, high-protein meals for the week, chicken is one of the… Read more: The Top 20 Chicken Meal Prep Recipes for 2026
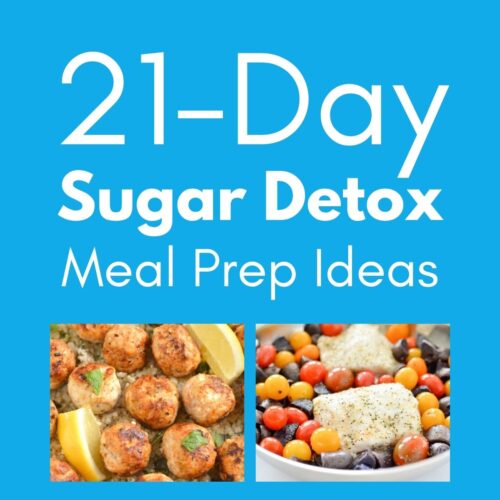
 - 21 Day Sugar Detox Meal Prep Ideas
 TL;DR: These 21 Day Sugar Detox meal prep ideas are built around protein, healthy fats,… Read more: 21 Day Sugar Detox Meal Prep Ideas
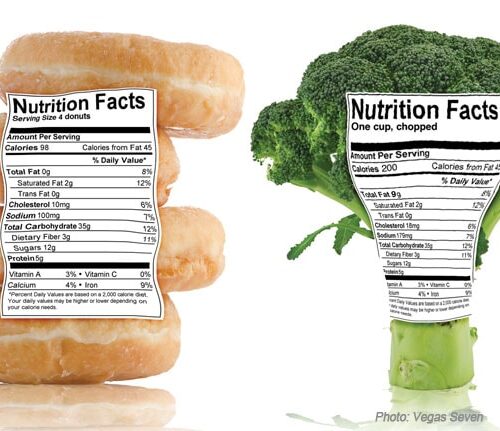
 - How I Read a Nutrition Label (Without Losing My Mind)
 TL;DR: Learning how to read a nutrition label does not have to feel like decoding… Read more: How I Read a Nutrition Label (Without Losing My Mind)
 - How Meal Prep Helps Eliminate Decision Fatigue
 TL;DR: Meal prep helps eliminate decision fatigue by making your food choices ahead of time,… Read more: How Meal Prep Helps Eliminate Decision Fatigue
 - Mediterranean Diet 101
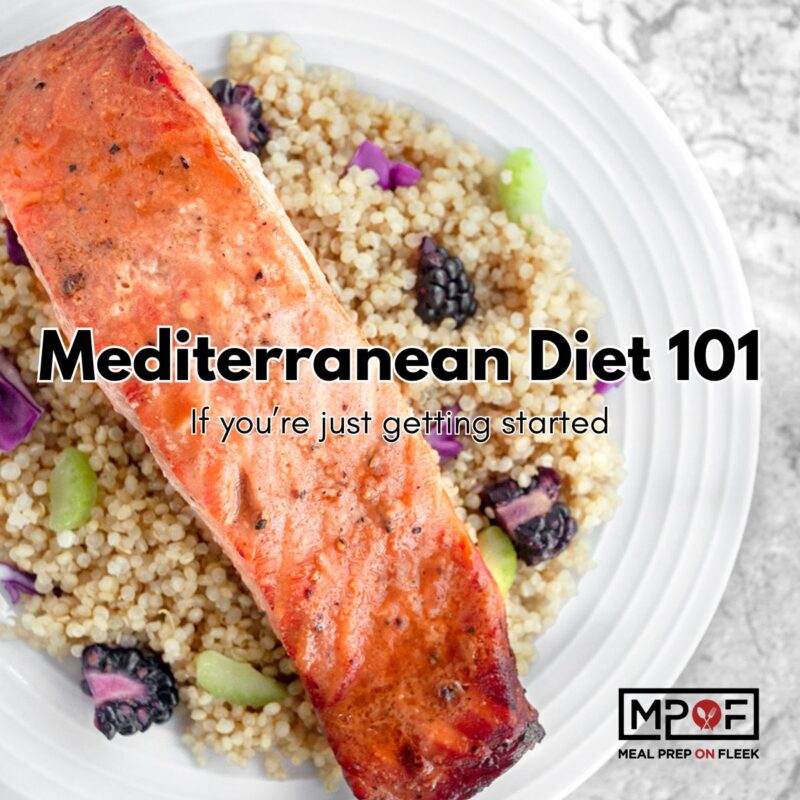 When most people hear the word diet, they usually think of rules, restrictions, and cutting… Read more: Mediterranean Diet 101
Chili, Soups, and Stews
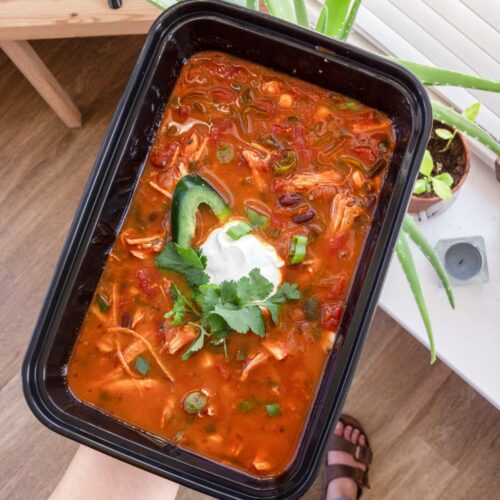
- Instant Pot Chicken Enchilada Soup
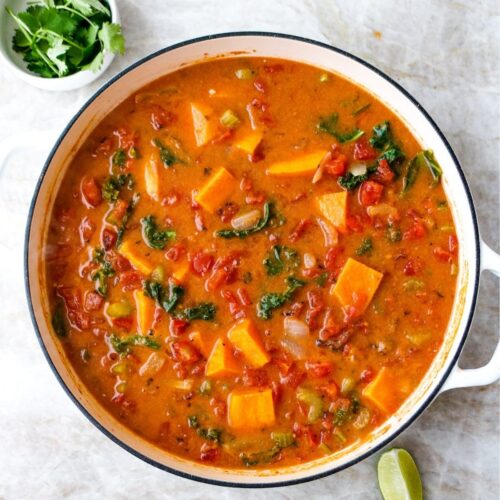
- African Peanut Stew
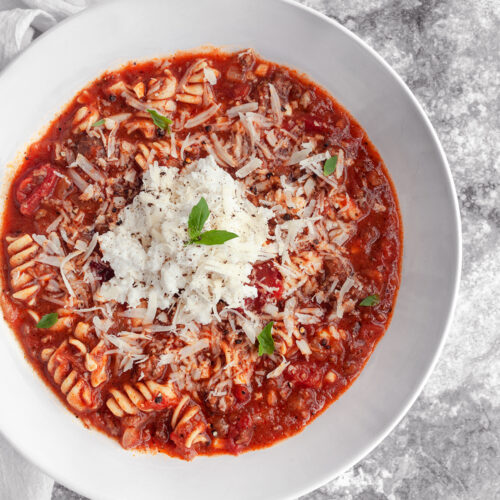
- Vegan Lasagna Soup
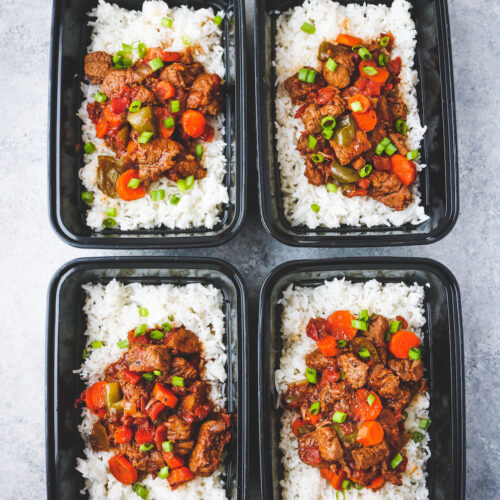
- Jamaican Beef Stew Meal Prep (Gluten-Free + Freezer-Friendly)
- Chilled Avocado Soup Meal Prep (Keto + Dairy-Free Option)
- Freeze-Friendly Instant Pot Steakhouse Chili
- Asian-Inspired Brothy Beef Soup - Freezer-Friendly
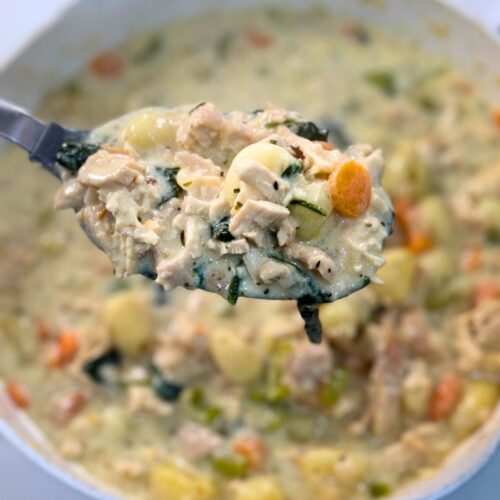
- Olive Garden Chicken Gnocchi Soup (Copycat Recipe)